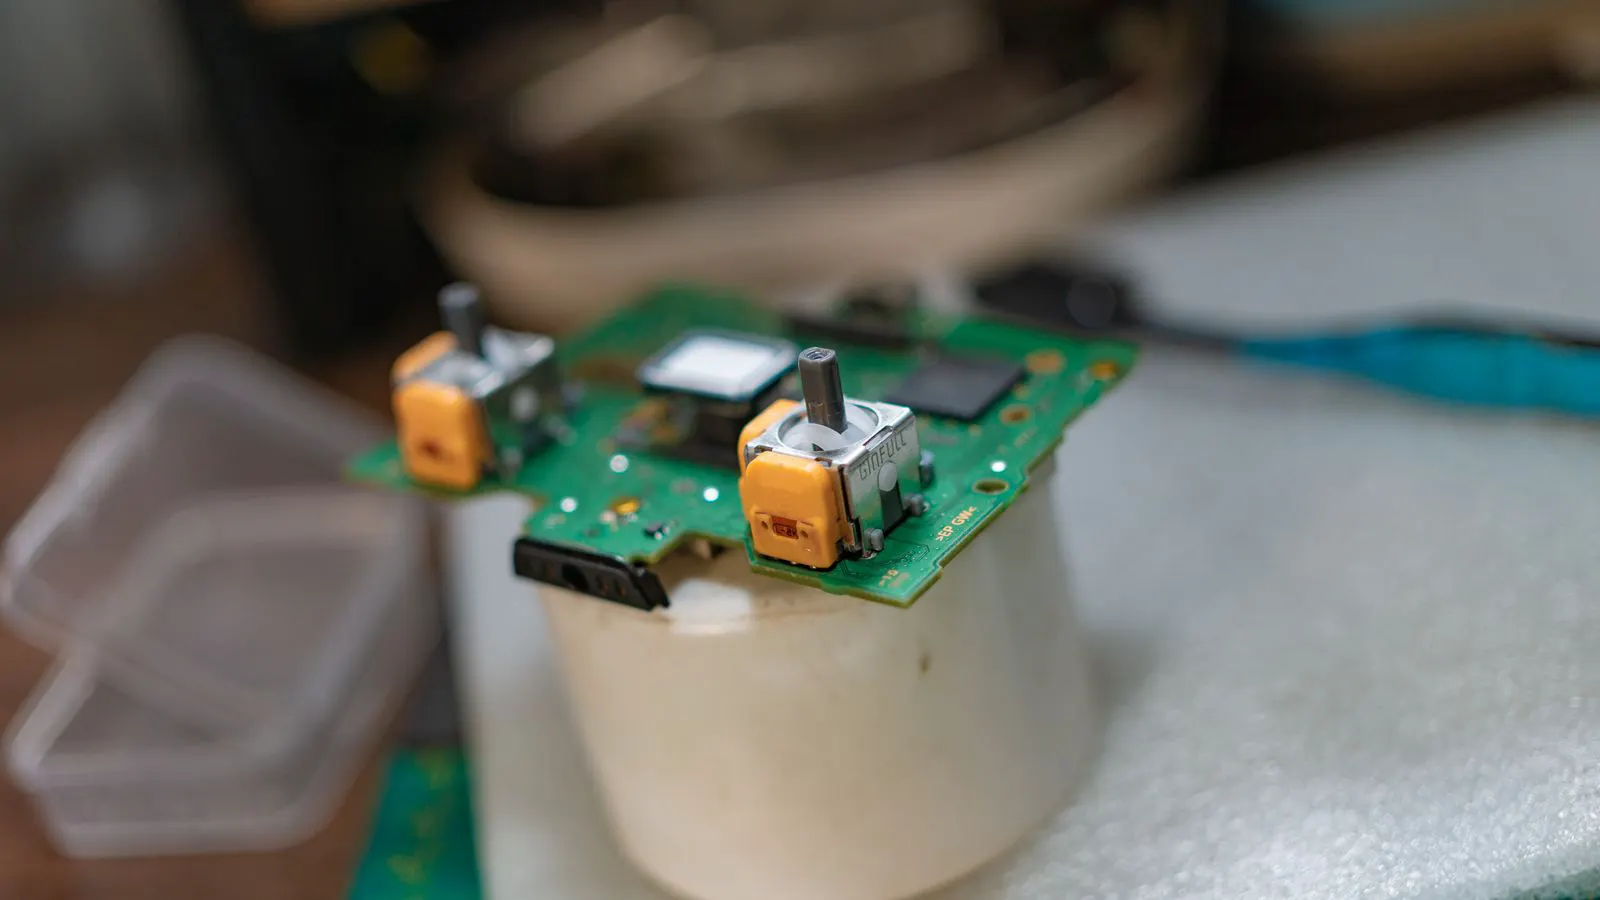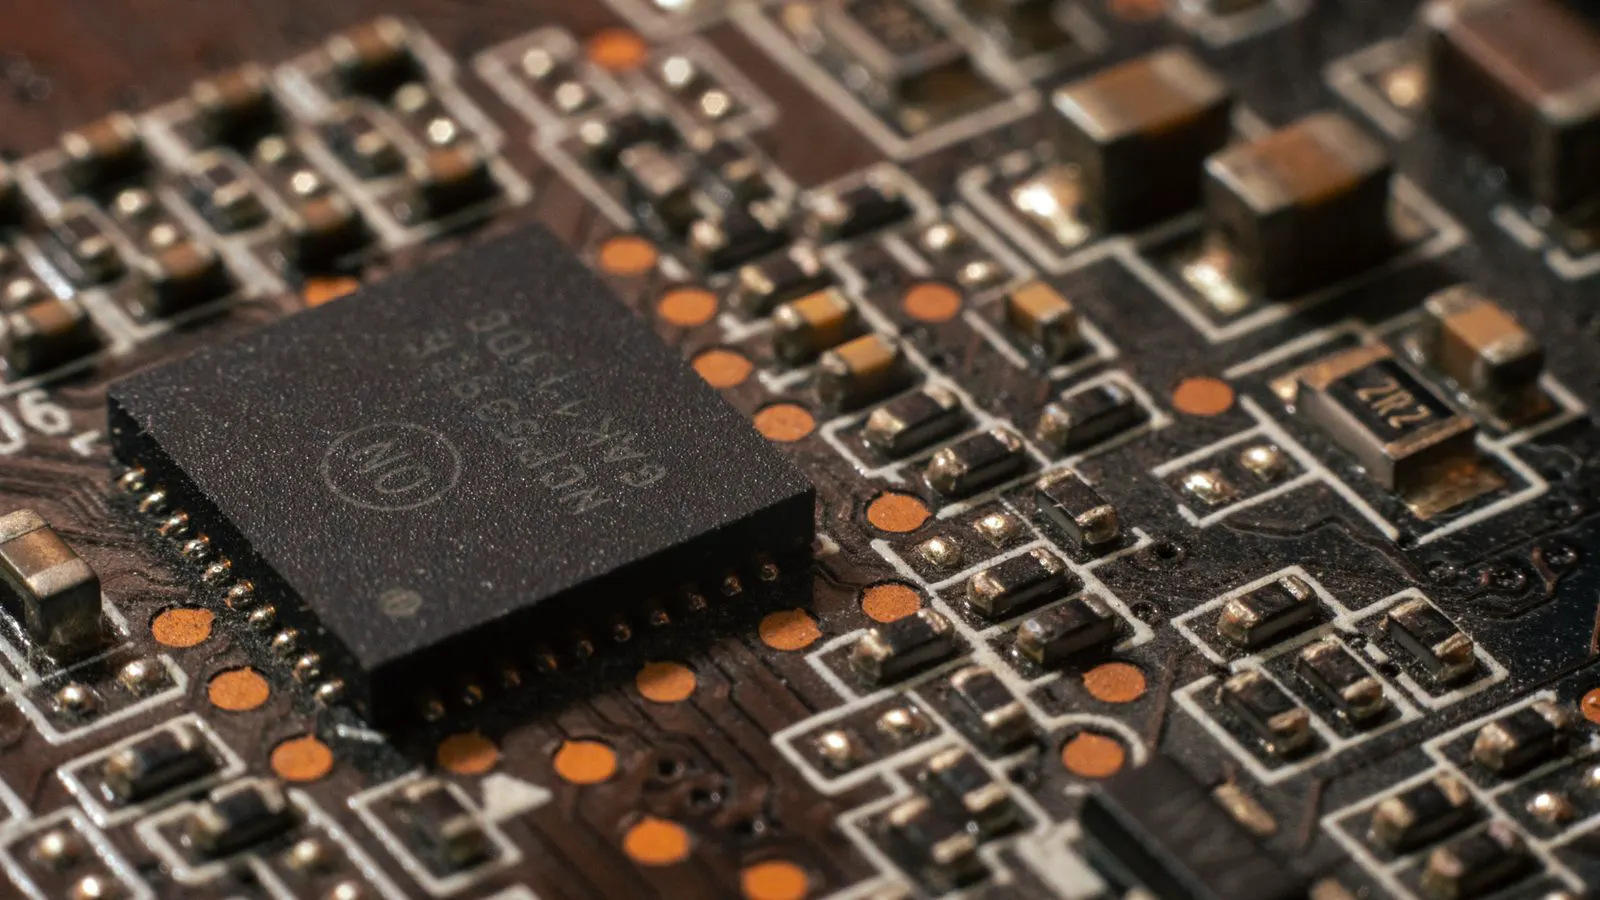
Verify component authenticity by checking datasheets, part numbers, physical markings, packaging, and solder joint behavior. This guide provides a step-by-step procedure to identify genuine parts and reduce supply chain risk.
- Start verification with datasheet cross-referencing before physical inspection
- Check package markings, date codes, and laser etching for consistency
- Test electrical performance against datasheet specifications when possible
- Maintain supplier documentation and traceability records for audit purposes
- Implement incoming inspection protocols to catch counterfeit parts before assembly
Why Component Verification Matters Before Production
Counterfeit electronic components enter supply chains through multiple entry points, from direct distributor channels to secondary markets. These parts may appear identical to genuine components but often contain degraded materials, incorrect tolerances, or missing safety certifications. The failure risk compounds during mass production because a single counterfeit batch can compromise thousands of assembled units.
Verification is a layered process that combines documentation review, physical inspection, and electrical testing. No single check guarantees authenticity, but together they create a reliable defense. This guide walks through a practical sequence that procurement teams and quality engineers can apply in manufacturing environments.
Prerequisites: What You Need Before Starting
Before beginning any verification procedure, gather the following materials and references.
- Manufacturer datasheet for the specific part number and revision
- Supplier certificate of conformance or material test report
- Physical sample of the component in question
- Multimeter or oscilloscope for electrical testing
- Magnifying glass or microscope for marking inspection
- Reference sample of a confirmed genuine part, if available
- Purchase order and supplier documentation from the last known good lot
Without these items, you can only perform partial checks. The more references you have, the higher the confidence in your verification results.
Step 1: Verify the Part Number Against Official Datasheets
Start by matching the printed part number on the component to the manufacturer’s official datasheet. Cross-reference the number with the manufacturer’s current product list and revision history.
The reason for this step is that counterfeiters often use valid but obsolete part numbers or slight variations that are not in the manufacturer’s active lineup. Some fakes use part numbers that never existed in the manufacturer’s catalog at all.
Check these details carefully:
- Part number format and character sequence
- Suffix letters indicating package type, temperature grade, or revision
- Discontinuation status of the part
- Date of the datasheet revision
If the part number does not appear in the manufacturer’s official documentation, stop the process. Do not proceed to physical inspection. Route the component to quarantine and investigate the supplier.
Step 2: Inspect Physical Markings and Package Quality
Hold the component under bright light and use a magnifier to examine all markings. Compare what you see against the manufacturer’s reference images and your genuine sample.
The reason for this step is that counterfeit packages often have inconsistent or low-quality markings. Laser etching may be too shallow, too deep, or slightly off-center. Ink printing may be misaligned or use the wrong color.
Look for these indicators:
- Font style and character spacing
- Marking alignment relative to package edges and pins
- Presence of date codes and lot numbers
- Surface finish consistency across the package
- Color accuracy of the package material
A genuine component from a major manufacturer will have consistent, high-quality markings. If the font looks “off” even when you cannot explain exactly why, that is a warning sign. Do not rely on a single marking. Check all visible surfaces.
Step 3: Check Package Dimensions and Tolerances
Measure the component against the datasheet dimensions using calipers. Compare the measured values to the specified tolerances.
The reason for this step is that counterfeiters often use generic packaging molds that do not match the original design precisely. Even small deviations in height, width, or pin pitch can indicate a non-genuine part.
Focus on these measurements:
- Overall package height
- Body width and length
- Pin pitch and lead width
- Lead length and straightness
- Bevel or chamfer angles
Use a reference sample when available. If you have a genuine part from a confirmed supplier, place it next to the suspect component and compare side by side. Even experienced engineers can miss subtle differences without a direct comparison.
Step 4: Examine Pin and Lead Quality
Inspect the metal finishes on pins and leads. Check for oxidation, plating thickness, and surface defects.
The reason for this step is that counterfeit components sometimes use inferior plating or inconsistent metal alloys. The pins may look dull, uneven, or slightly discolored compared to genuine parts.
Check for:
- Uniformity of plating color and sheen
- Consistent pin thickness
- Absence of solder balling or flux residue
- Clean, straight leads without kinks
- Proper solderability on test pads, if visible
Solder a small test joint on a spare lead if the part allows. Genuine components should solder cleanly without excessive reflow or flux residue. Counterfeit parts with poor metal composition may show solder rejection or uneven wetting.
Step 5: Verify Date Codes and Traceability
Locate the date code on the component or its packaging. Compare the format against the manufacturer’s known date code conventions.
The reason for this step is that date codes follow specific patterns that manufacturers use to indicate production dates or lot numbers. Counterfeiters often guess or copy formats incorrectly, leading to impossible dates or inconsistent lot numbers.
Check:
- Date code format and character type
- Whether the date matches the supplier’s claimed production date
- Consistency between the component date code and the packaging date
- Presence of any additional traceability markings
If the date code appears to be from a future date or an impossible sequence, the component is likely counterfeit. Cross-reference with the supplier’s certificate of conformance. If the dates do not match, request a full traceability report from the supplier.
Step 6: Perform Electrical Parameter Testing
Use a multimeter or oscilloscope to test the component’s electrical characteristics against the datasheet specifications.
The reason for this step is that many counterfeit parts have degraded performance. A resistor may read within tolerance at first but drift out of range under load. A transistor may show correct pin configuration but fail under specified current or voltage conditions.
Test these parameters where applicable:
- Resistance values and tolerance bands
- Capacitance and ESR
- Transistor current gain and breakdown voltages
- Diode forward voltage drop
- Inductance and Q factor
Always test at multiple points in the component’s operating range if possible. A part that passes at room temperature but fails at elevated temperatures is a significant risk. Document your test results and compare them against the datasheet minimum and maximum values.
Step 7: Review Supplier Documentation and Audit Trail
Examine the supplier’s certificate of conformance, test reports, and shipping documents. Verify that the documentation matches the physical component.
The reason for this step is that documentation provides a paper trail that can be traced back to the manufacturer. Inconsistencies between the paperwork and the physical part are a strong indicator of a counterfeit supply chain.
Check:
- Certificate of conformance signatures and dates
- Test report reference numbers
- Shipping manifest details
- Supplier authorization status
- Chain of custody from manufacturer to your facility
Request the manufacturer’s authorization list if the supplier is a distributor. Verify that the distributor is authorized for the specific product line. Unauthorized distributors often source from secondary markets where counterfeit parts are common.
Common Mistakes in Component Verification
Many teams make predictable errors when verifying components. These mistakes reduce the reliability of the process.
- Skipping the datasheet check and going straight to physical inspection
- Relying on a single test point instead of testing across the operating range
- Ignoring subtle marking inconsistencies because the part “looks close enough”
- Accepting documentation without verifying it against the manufacturer’s records
- Testing only one part from a batch and assuming the entire lot is genuine
Each of these mistakes leaves a gap in the verification chain. A part that passes one check but fails another is still a risk. The process must be complete before the component enters production.
Final Verification Step: Approve or Quarantine
After completing all seven steps, make a final decision. If every check passes and the documentation is consistent, approve the component for use. If any check fails or shows ambiguity, quarantine the entire lot.
Do not approve a component based on partial verification. A single failed test point, a mismatched date code, or an unauthorized supplier should trigger a full review. Quarantine the part, notify the supplier, and initiate a return or replacement process.
Keep all verification records with the purchase order. These documents protect your organization if a failure occurs in the field and traceability becomes an issue.
When to Escalate
If you suspect a counterfeit component but cannot confirm it with the tests above, escalate the issue. Contact the manufacturer directly with your findings. Provide photos of the markings, your test results, and the supplier documentation.
The manufacturer can confirm whether the part number is valid, whether the markings match their standards, and whether the supplier is authorized. This step adds an external verification layer that you cannot replicate in-house.
Do not wait for a field failure to act. The cost of identifying a counterfeit part during incoming inspection is far lower than the cost of replacing failed products in the field.
Frequently asked questions
Can I verify a component using only a multimeter?
No. A multimeter test alone is insufficient for full component verification. You must combine electrical testing with physical inspection, marking review, and documentation checks to build a complete verification record.
What if the part number appears valid but the markings look wrong?
Quarantine the component immediately. A valid part number does not guarantee authenticity. Marking inconsistencies are a common indicator of counterfeit parts. Contact the manufacturer with photos and test results.
How many parts from a lot should I test?
Test a statistically meaningful sample based on your quality policy and risk level. For high-risk components, test a larger sample or the entire lot. For low-risk items, a smaller sample may be sufficient. Document your sampling method.
Do I need a reference sample to verify a component?
A reference sample is highly recommended but not always required. Without one, you rely more heavily on datasheet specifications, manufacturer reference images, and supplier documentation. A reference sample makes subtle differences easier to spot.
What should I do if the supplier cannot provide a certificate of conformance?
Do not accept the component into production. Request the documentation in writing and allow reasonable time for response. If the supplier cannot provide it, treat the component as unverified and quarantine it.