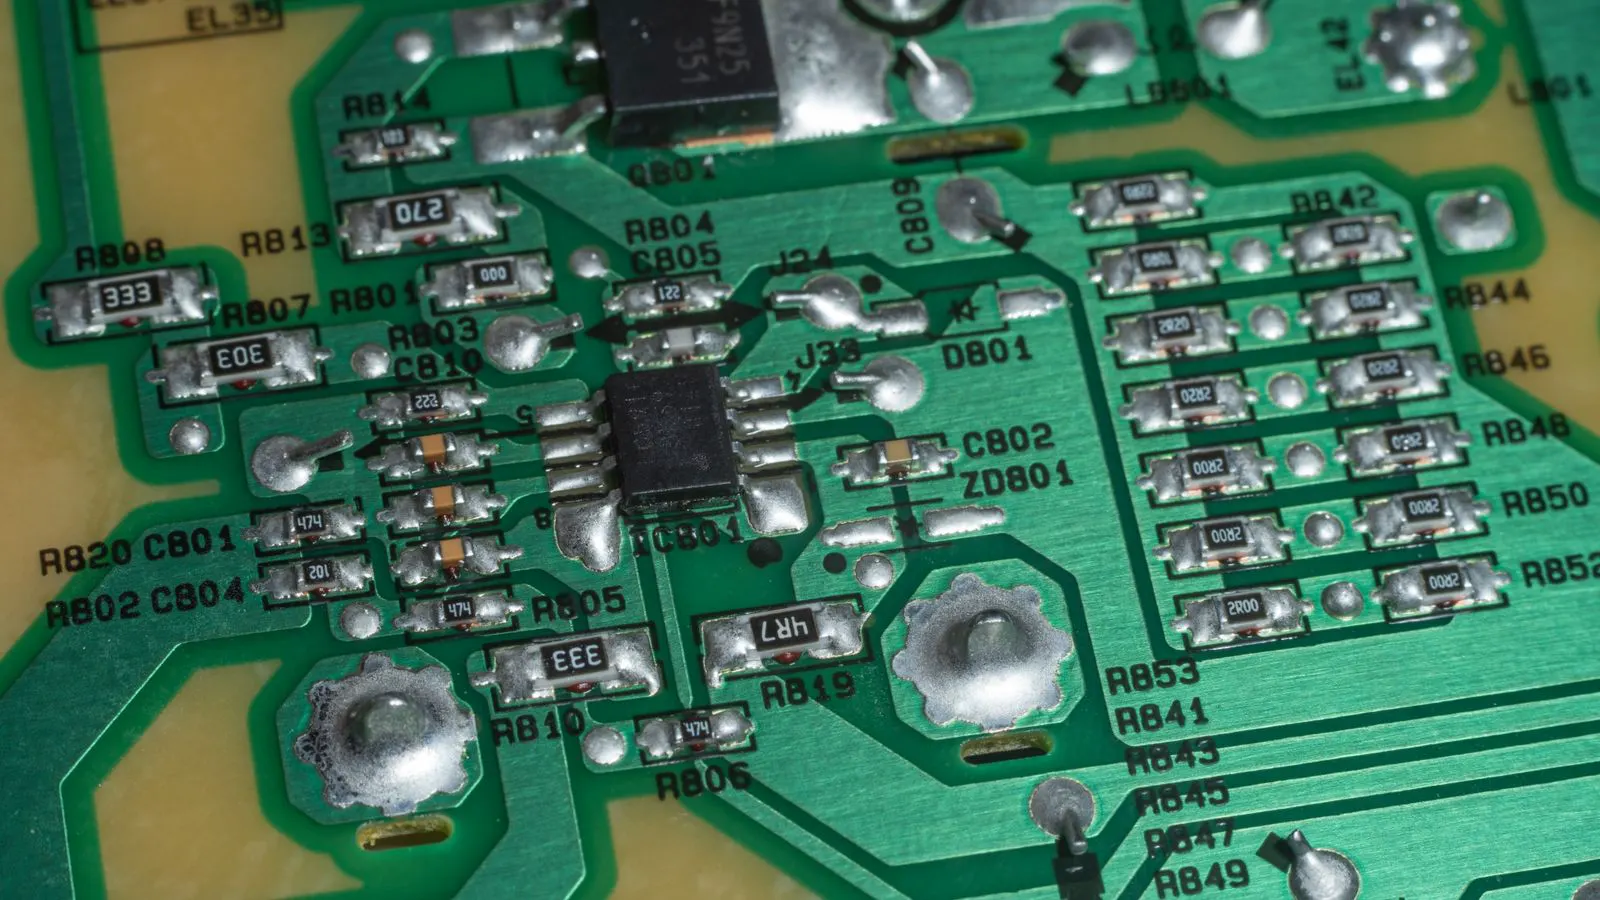
Verify CE marking for imported components by checking the CE declaration, technical file, and EU Representative. Cross-reference supplier documentation with regulatory databases and request test reports. This process ensures import compliance and meets certification requirements before goods enter the European market.
- Check the CE declaration against the technical file to confirm the product scope matches the imported part.
- Verify the EU representative is legally active and can be reached for customs or market surveillance inquiries.
- Request test reports and keep records of the verification process for future audits.
- Use customs and market surveillance data to identify patterns of non-conforming imports.
- Implement a pre-shipment verification step to catch documentation errors before freight is booked.
Why CE Marking Verification Matters for Importers
Importers of electronic components face a direct risk when CE marking is missing, incorrect, or unsupported by proper documentation. A part may arrive at your dock with a CE label, but the label alone does not prove the component meets the relevant EU directives. Without a solid verification process, you can face customs holds, product recalls, or liability claims that trace back to your facility.
The CE declaration is the core document. It identifies the manufacturer, the product scope, and the applicable directives. For a 480V power module, the declaration must reference the Low Voltage Directive and the Electromagnetic Compatibility Directive. For a battery management unit, it must reference the Battery Regulation and EMC. If the scope is too broad, the CE mark may be invalid.
Verification is not just a legal formality. It protects your brand. When a component fails in a customer’s system, your team will be asked for proof of due diligence. A verified CE file shows you checked the supplier’s work. It also simplifies interactions with customs brokers and market surveillance authorities.
Prerequisites Before Verification
Before you start checking a specific part, you need a clear understanding of the regulatory environment. Different components fall under different EU regulations. A surface-mount resistor may have a different compliance path than a microcontroller with a radio interface.
First, identify the product category. Is the component a standalone device, a module, or a part of a larger system? The classification changes which directives apply. A 5G router requires different documentation than a simple audio amplifier.
Second, gather the supplier’s paperwork. You need the CE declaration, the technical file, the user manual, and test reports. If the supplier cannot provide these, the verification process stops. You cannot verify what you cannot see.
Third, check the supplier’s legal status. The manufacturer must be established in the EU or appoint an EU representative if they are outside the region. This representative must be legally authorized to act on the manufacturer’s behalf.
Step-by-Step Verification Process
Follow this numbered list to verify CE marking for imported electronic components. Each step has a specific reason.
-
Review the CE Declaration for Scope Accuracy
The declaration must list the exact model number and version of the component. If the supplier sells a “Series A” part but the declaration only covers “Series A-2023,” there is a mismatch. Check the date of the declaration. It should align with the production run. If the part changed in 2025, the declaration must be updated. -
Cross-Reference the Technical File
The technical file contains design drawings, material specifications, and test records. For an electronic component, look for the EMC test report. It should show measurements against EN 55032 or similar standards. If the technical file is missing test data, the CE mark is not supported. This step ensures the product was actually tested, not just labeled. -
Verify the EU Representative Contact Details
If the manufacturer is outside the EU, the representative must be listed in the declaration. Check the representative’s address and contact information. Try to reach them. If the representative is unreachable, the manufacturer is not properly registered. This step prevents a situation where customs cannot contact the responsible party. -
Check the User Manual for Regulatory References
The user manual must state that the product complies with applicable EU directives. It should also include the CE mark and the manufacturer’s contact details. If the manual is in English only, ensure it is available in the languages required for the target market. This step confirms the end-user is informed about compliance. -
Request Test Reports from Accredited Labs
Ask the supplier for test reports from recognized testing laboratories. Look for reports on EMC, safety, and RoHS compliance. Verify that the lab is accredited to the relevant standards. If the report is from an unknown lab, request a copy of their accreditation certificate. This step adds a layer of third-party validation. -
Search Customs and Market Surveillance Records
Check if the component has been flagged in customs databases or market surveillance systems. Some countries maintain public registers of non-conforming products. If the part appears in a recall list, stop the shipment. This step helps you avoid known problematic components. -
Perform a Physical Inspection
Inspect the physical component for the CE mark. It must be visible and legible. Check that the mark is not hidden under a label or painted over. For some components, the CE mark must be on the casing. This step catches labeling errors that may not be visible in documents. -
Document the Verification Process
Keep a record of every step you take. Save copies of the CE declaration, technical file, test reports, and your notes. This documentation is your proof of due diligence. If a problem arises later, you can show that you followed a standard verification process. This step protects your company legally.
Common Mistakes in CE Marking Verification
Importers often make the same errors when checking CE marking. These mistakes can lead to costly delays and compliance failures.
Mistake 1: Relying Only on the CE Label
The CE mark is a visual identifier, not a certificate of conformity. A label on the box does not prove the product meets the regulations. Always check the declaration and technical file.
Mistake 2: Ignoring Version Changes
Suppliers may update a component’s design without changing the model number. If the design changes, the CE declaration must be updated. Check the revision date of the technical file against the production date.
Mistake 3: Accepting Vague Scope Descriptions
Some declarations use broad language like “all components in the series.” This is too vague. The scope must be specific. If you cannot identify the exact part, the verification is incomplete.
Mistake 4: Skipping the EU Representative Check
Many importers assume the manufacturer is responsible. If the manufacturer is outside the EU, the representative is the legal contact. If the representative is inactive, the manufacturer is not properly compliant.
Mistake 5: Failing to Keep Records
Verification is not a one-time event. Keep records for the life of the product. If a problem arises two years later, you need proof that you checked the compliance at the time of import.
Final Verification Step
After completing the numbered steps, perform a final check. Compare the physical component to the documentation. Ensure the model number on the part matches the declaration. Check the CE mark one last time. If everything aligns, the component is verified.
This final step is your gatekeeper. It catches any last-minute errors. It also gives you confidence that the component is ready for shipment. If you find a discrepancy, stop the process. Contact the supplier and request corrections. Do not ship the component until the issue is resolved.
How to Handle Non-Conforming Components
If you find a CE marking issue, you must act. Do not ship the component. Contact the supplier and explain the problem. Request corrected documentation or a revised product.
If the supplier cannot fix the issue, return the component. Keep records of the return. Inform your internal team about the non-conformance. Update your supplier list to flag this part.
If the component has already been shipped, contact your customs broker. They can advise on the next steps. In some cases, the component must be destroyed. In others, it can be returned to the supplier.
Handling non-conforming components quickly reduces risk. It also shows your customers and regulators that you take compliance seriously.
Building a Sustainable Verification System
Verification is not a one-off task. It is an ongoing process. Build a system that integrates CE marking verification into your receiving workflow.
Assign a team member to handle compliance checks. Create a checklist for each component. Use a database to track verification status. Set reminders for re-verification if the component’s design changes.
This system reduces errors and speeds up the process. It also gives you a clear view of your compliance posture. If an audit comes, you can show your records.
By building a sustainable system, you reduce the risk of compliance failures. You also improve your relationship with suppliers. They know you are serious about quality and compliance.
Key Takeaways for Importers
CE marking verification is a critical part of importing electronic components. It requires attention to detail and a systematic approach. Follow the steps outlined in this guide to ensure your components meet EU regulations.
Check the CE declaration, technical file, and EU representative. Request test reports and search customs records. Perform a physical inspection and document your process.
If you find a problem, act quickly. Do not ship non-conforming components. Keep records of your verification efforts.
By following this process, you protect your business and your customers. You also ensure that your imported components meet the highest standards of safety and performance.
Frequently asked questions
How long does CE marking verification take?
It depends on the complexity of the component and the supplier's responsiveness. A simple check might take a few hours. A full verification with test reports can take days or weeks.
Can I verify CE marking without contacting the supplier?
No. You need the supplier's documentation, including the CE declaration and technical file. Without these, you cannot verify the component's compliance.
What if the supplier does not provide the technical file?
Do not accept the component. The technical file is required to prove the product meets the regulations. If the supplier cannot provide it, the CE mark is not supported.
How often should I re-verify CE marking?
Re-verify when the component's design changes or when the supplier updates its documentation. It is also good practice to review compliance annually.
Can I use a third-party service for CE marking verification?
Yes. Many testing laboratories and compliance consultants offer verification services. They can review your documentation and provide a report.